How to Fix Sun Damage on Car Paint
Did you know that the scorching sun can wreak havoc on your car’s paint job? Over time, exposure to intense sunlight can cause the paint to fade, crack, and peel, leaving your vehicle looking dull and worn out. But fear not!
In this article, we will guide you through the process of fixing sun damage on car paint, so you can restore your vehicle’s shine and protect it from further harm.
Identifying Different Levels of Sun Damage
Sun damage can manifest in various forms, depending on the severity and duration of exposure. The first signs may appear as slight discoloration or hazing, indicating that the clear coat has been compromised. If left untreated, the damage can progress to more noticeable issues such as peeling, cracking, and blistering. Identifying the level of sun damage is essential for determining the most appropriate repair method.
One way to assess the level of sun damage is to carefully examine the affected areas of your car’s paint. Look for any signs of color fading, uneven texture, or small cracks. These can be indications that the paint has been significantly damaged by the sun’s UV rays. Additionally, if you notice any areas where the paint is peeling or blistering, it is a clear sign that the sun damage has reached an advanced stage.
Another method to identify sun damage is to compare the affected areas with the rest of the car’s paint. Take note of any noticeable differences in color, glossiness, or texture. Sun-damaged areas may appear dull, faded, or rough to the touch, while unaffected areas will retain their original vibrancy and smoothness.
It is important to note that sun damage can accumulate over time, especially if your car is regularly exposed to intense sunlight. Even if the damage seems minimal at first, it can worsen over months or years of continued exposure. Therefore, it is crucial to address any signs of sun damage promptly to prevent further deterioration and protect the integrity of your car’s paint.
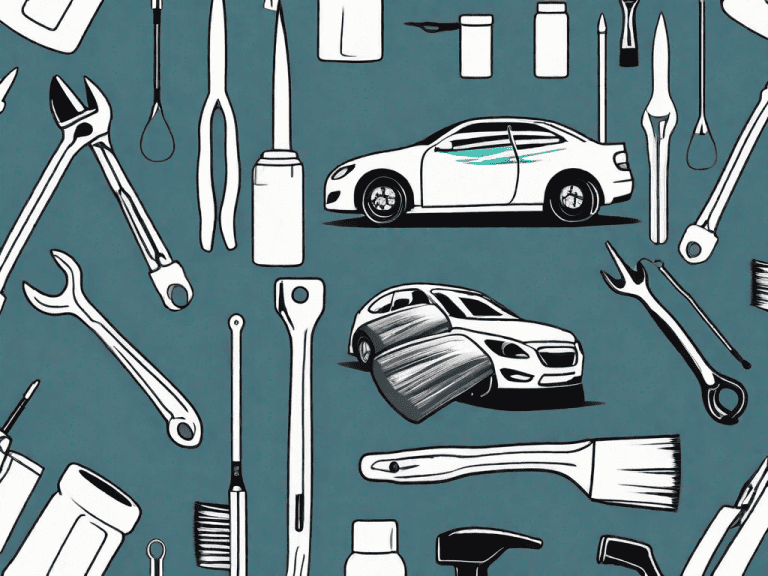
Tools and Materials Needed for Repair
Before delving into the repair process, it’s important to gather all the necessary tools and materials. Having the right equipment at hand will ensure a smooth and successful restoration of your car’s paint.
When it comes to repairing sun damage on your car’s paint, there are a few essential tools that you’ll need to have on hand. These tools will help you achieve professional-looking results and make the repair process much easier.
Essential Tools for Sun Damage Repair
- Sandpaper (various grits): Sandpaper is an essential tool for removing any rough or damaged areas on the surface of your car’s paint. Different grits of sandpaper will be needed depending on the severity of the damage.
- Masking tape: Masking tape is used to protect areas of your car that you don’t want to get paint on. It’s important to carefully mask off any areas that you want to keep paint-free.
- Microfiber cloths: Microfiber cloths are perfect for cleaning and buffing the surface of your car’s paint. They are soft and won’t scratch the surface, making them ideal for removing any dust or debris.
- Polishing compound: A polishing compound is used to remove any scratches or imperfections on the surface of your car’s paint. It helps to restore the shine and smoothness of the paint.
- Paintbrushes: Paintbrushes are necessary for applying touch-up paint to any areas that need it. They come in various sizes, so make sure to have a few different ones on hand.
- Spray gun or touch-up pen: Depending on the size of the damaged area, you may need either a spray gun or a touch-up pen. A spray gun is ideal for larger areas, while a touch-up pen is perfect for smaller touch-ups.
Choosing the Right Materials
When it comes to fixing sun damage on car paint, using high-quality materials is crucial for achieving long-lasting results. Opting for automotive-grade paint, clear coat, and primer will ensure durability and a seamless finish.
It’s important to consult with a professional or knowledgeable staff at your local automotive store to select the right products for your specific car model and color. They will be able to guide you in choosing the correct paint color and provide you with the necessary materials for a successful repair.
By using the right tools and materials, you can confidently tackle the task of repairing sun damage on your car’s paint. With a little patience and attention to detail, your car will look as good as new!
Preparing Your Car for the Repair
Now that you have gathered all the necessary tools and materials, it’s time to prepare your car for the repair process. Proper preparation will not only enhance the effectiveness of the repair but also contribute to the longevity of the newly restored paint job.
Preparing your car for repair involves several important steps that will ensure a successful outcome. Let’s dive into each of these steps in detail.
- Cleaning Your Car Thoroughly
Begin by thoroughly washing your car to remove any dirt, dust, or grime that may interfere with the repair process. Use a gentle automotive shampoo and a microfiber cloth to avoid scratching the paint. Pay extra attention to the sun-damaged areas, ensuring that they are free from any loose paint or debris.
Cleaning your car is not just about making it look good; it’s a crucial step in the repair process. By removing all the dirt and grime, you create a clean surface for the repair materials to adhere to. This will ensure a seamless and long-lasting repair.
Take your time while cleaning and pay attention to every nook and cranny. Use a soft brush to clean hard-to-reach areas and a detailing clay bar to remove any stubborn contaminants. Remember, the cleaner your car is, the better the repair will turn out.
- Assessing the Extent of Damage
Before proceeding with the repair, take a closer look at the sun-damaged areas and assess the extent of the damage. Identifying any chips, cracks, or deep scratches will help you determine which repair techniques to employ. If the damage is extensive or beyond your skill level, seeking professional assistance may be the best option.
Assessing the damage is a critical step in the repair process. It allows you to understand the scope of the problem and plan accordingly. Sometimes, what may seem like a minor issue on the surface can turn out to be more severe upon closer inspection.
Use a bright light source and a magnifying glass to examine the damaged areas carefully. Look for any signs of paint peeling, deep scratches, or underlying structural damage. This thorough assessment will help you decide whether you can handle the repair yourself or if it requires professional intervention.
Remember, it’s always better to be safe than sorry. If you’re unsure about your abilities or the extent of the damage, don’t hesitate to consult a professional. They have the expertise and experience to handle even the most challenging repairs.
Step-by-Step Guide to Fixing Sun Damage
Now comes the exciting part – repairing the sun damage and reviving your car’s paint! Follow these step-by-step instructions for a successful restoration:
- Sanding the Damaged Area
Start by sanding the sun-damaged area using a sandpaper with a fine grit. Gently rub the surface in circular motions until the damaged layer is smooth and even. Take care not to apply too much pressure or sand too deeply, as this can further damage the surrounding paint.
Sanding is a crucial step in the restoration process as it helps remove the damaged paint and prepares the surface for the next steps. The circular motions ensure that the sanding is even and consistent, creating a smooth canvas for the subsequent layers of primer and paint.
It’s important to choose the right grit sandpaper for the job. A fine grit sandpaper is ideal for sun-damaged areas as it effectively removes the damaged layer without causing excessive abrasion. Remember to use a sanding block or pad to maintain a consistent pressure and avoid uneven sanding.
- Applying the Primer
Once the damaged area is sanded, it’s time to apply a coat of primer. Use a paintbrush or a spray gun to ensure even coverage. Allow the primer to dry completely before moving on to the next step. This will promote adhesion and provide a solid foundation for the paint.
Primer is an essential component of the repair process as it helps the paint adhere to the surface and improves the overall durability of the paint job. It fills in any imperfections and creates a smooth base for the paint to adhere to, resulting in a seamless finish.
Make sure to follow the manufacturer’s instructions regarding the recommended drying time and the number of coats needed. Applying multiple thin coats is preferable to a single thick coat, as it allows for better control and a more even application.
- Painting the Damaged Area
Select a high-quality automotive paint that matches the color of your car. Apply thin layers of paint to the damaged area, allowing each coat to dry before adding another. Use smooth, overlapping strokes to achieve an even finish. Repeat this process until the repair is seamless and the color matches the surrounding paint.
Choosing the right paint color is crucial for a successful repair. It’s important to match the color as closely as possible to ensure a seamless blend with the existing paint. Automotive paint is specifically formulated to withstand the elements and provide long-lasting protection.
When applying the paint, start with thin layers and build up gradually. This allows for better control and reduces the risk of drips or uneven coverage. Using smooth, overlapping strokes ensures an even distribution of paint and helps achieve a professional-looking finish.
- Applying Clear Coat
To protect the newly painted area and give it a glossy finish, apply a layer of clear coat. Clear coat acts as a barrier against UV rays and environmental contaminants, ensuring the longevity of your car’s paint job. Follow the manufacturer’s instructions for the application process and drying time.
Clear coat not only enhances the appearance of the repaired area but also provides essential protection. It forms a hard, transparent layer that shields the paint from harmful UV rays, oxidation, and other external factors that can cause fading or damage over time.
When applying the clear coat, make sure to do so in a well-ventilated area and follow the manufacturer’s instructions carefully. Applying multiple thin coats is recommended to achieve a smooth and durable finish. Allow each coat to dry fully before applying the next.
Aftercare Tips for Newly Repaired Paint
Congratulations on successfully restoring your car’s paint! To maintain the repaired area and prevent future sun damage, consider the following aftercare tips:
- Maintaining the Repaired Area
Regularly wash and wax your car to protect the repaired area and maintain its shine. Avoid using abrasive cleaners or sponges that can scratch the paint. Additionally, park your vehicle in shaded areas whenever possible to minimize sun exposure.
- Preventing Future Sun Damage
To prevent sun damage from reoccurring, consider investing in a car cover or parking in a garage. If that’s not feasible, apply a high-quality automotive wax or paint sealant with UV protection. These products will act as a shield against harmful UV rays and prolong the life of your car’s paint.
In conclusion, fixing sun damage on car paint doesn’t have to be a daunting task. With the right tools, materials, and knowledge, you can restore your car’s appearance and protect it from future harm. So, why wait? Give your vehicle the attention it deserves and watch it shine as bright as the sun! After restoring your car’s vibrant look, it’s essential to maintain its shine and health. For a thorough and gentle cleaning experience that complements your hard work, consider giving WashLab a try. Their expert services ensure that your vehicle remains protected and gleaming, further enhancing the longevity of your paint job.